|
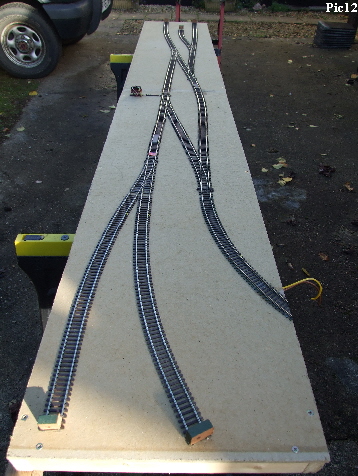
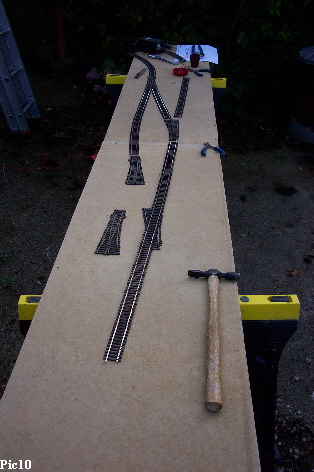
Based on our Traidenham track plan ( see top of page ) I set about loosely laying out the track elements that would eventually be fixed into place ( Pic10 ).
As this is a layout anyone can build and achieve, we are going to use Peco Streamline code 100 track and pointwork. This gives good running with a wide variety of stock and all the elements are readily available from a good model shop.
The track plan has been designed to be visually pleasing, to allow plenty of operational interest and hopefully be fun to use. The reverse sidings and the run around loop are included to allow and encourage shunting and the short sidings do mean we need to shunt! I have also tried not to have too much straight track parallel to the board edges. The curves and lack of too many straights look more pleasing and I feel more realistic than regimented parallel straight track.
The point work is primarily the short insulfrog varieties as longer point would take up too much space. There is one electrofrog point used just to demonstrate the difference between insulfrog and electrofrog - a more detailed discussion to follow.
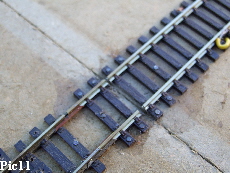
The track was loosely laid and then pinned with track pins, extra holes drilled in the sleepers at regular intervals to make sure everything stayed in place. The points were also pinned as once the Peco point motors are fitted they will need to be solidly anchored otherwise the motor will move them about.
It is a good idea when laying the track to just run a short wagon over everything as you go. This highlights any tight spots on curves or bad track joints etc and you can deal with them before you lay too much more track.
|
